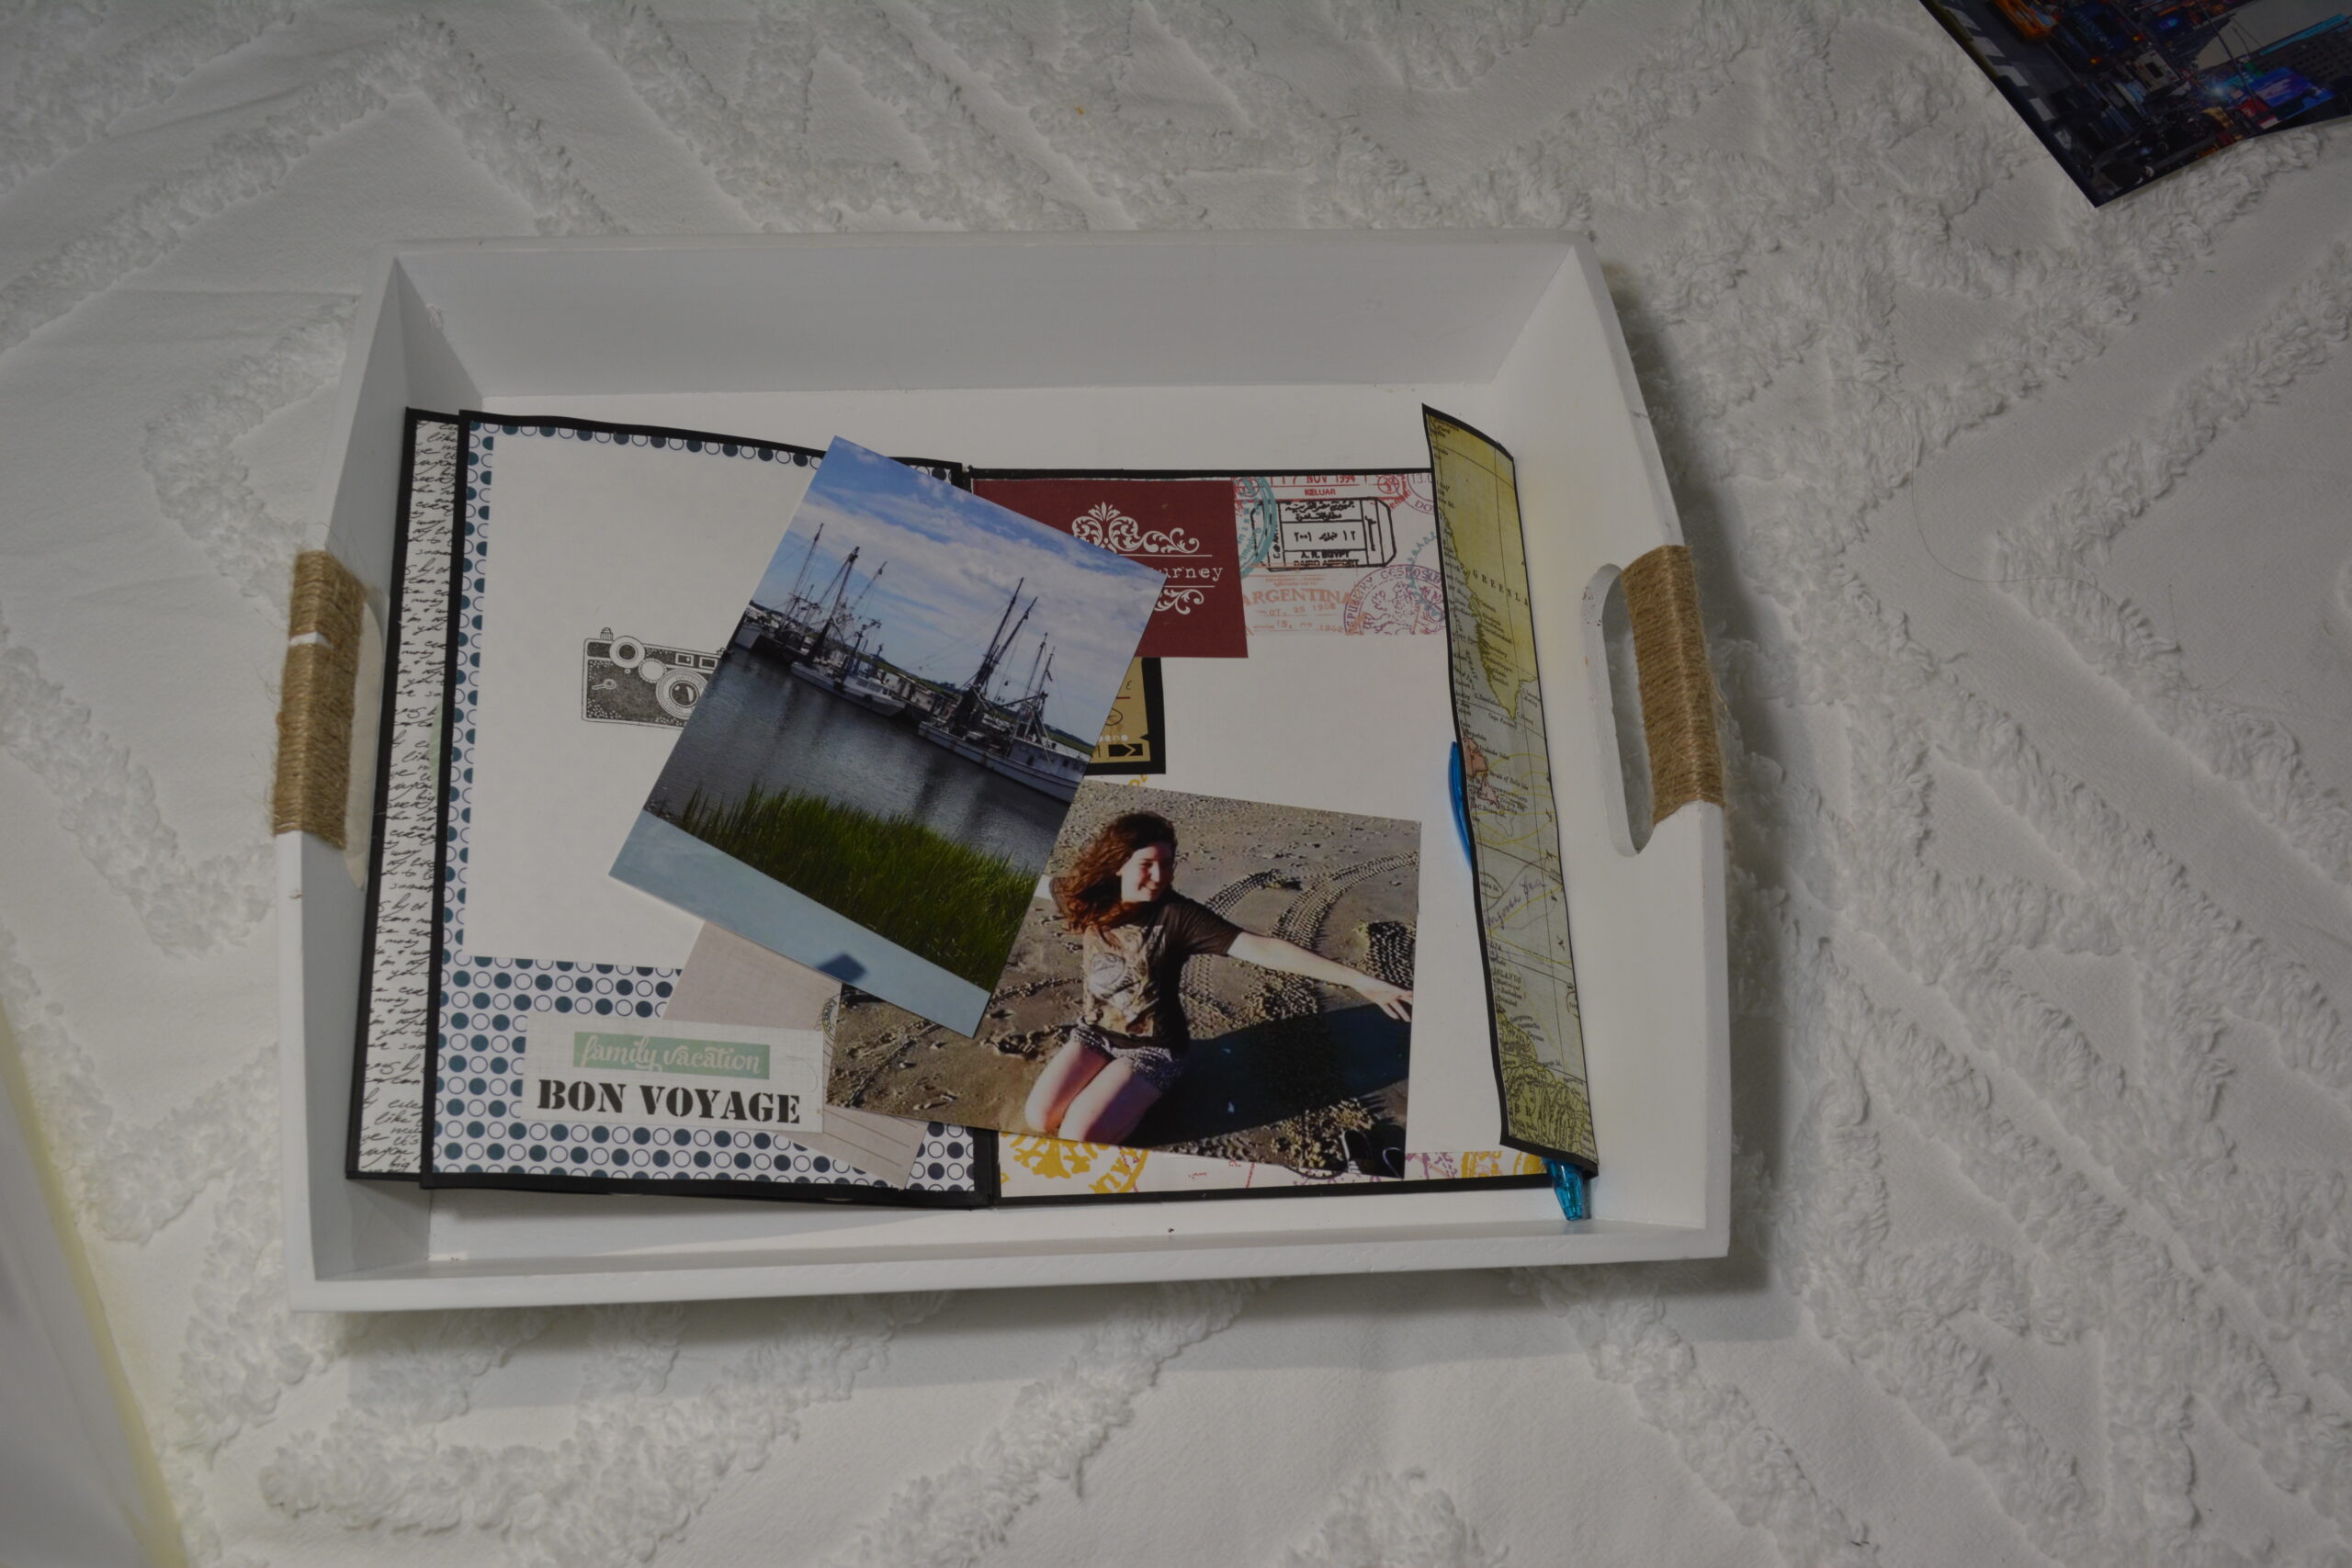
I am a minimalist at heart, so I like to keep things pretty simple. This applies to my scrapbooking too. For me, handcrafting a scrapbook for my store is easier than actually decorating a scrapbook with my personal photos and mementos. I guess you would say I am a bit of a perfectionist, too.
So, let’s talk about the process of telling your story through page layouts in a scrapbook. It’s not hard or complicated, or anything like that. It’s just that we all want to be able to pass down our scrapbooks to future generations, so naturally we want them to be beautiful and meaningful. No pressure, right? But I’ve found a few tips and tricks that may help you if you are struggling with how to create/decorate your pages.
The easiest way to start is by sorting your photos in an order that tells the story you want to tell. In my earlier blog, I said to sort photos into categories, but now you are going to put them in order of the story. And as always, there is no hard and fast rule on how that works because it is personal. So, ask yourself, does it begin with the birth and progress from there? Or maybe it begins the day you arrived at your dream vacation. However it begins, think about the way the photos take you through the middle of the story, to the end. Then intuitively, you know the next step, start with the first photo that begins the story.
Once I have that first photo or photos, I decide whether or not I am going to add a title or journaling spot to describe the photo. Titles don’t have to always be written. You can make banners out of paper with letters glued to them to make the title a pennate banner. My point is that you want to decide this early in the process. Many of my early “happy accidents” happened because I didn’t leave enough space to put labels, dates, titles, names, etc. on the page to tell the whole story. So really think this one through before you begin sticking down your photographs.

And about that. Don’t stick anything down until you’re satisfied with your page. Try to vary your page layouts by using a few photos of different sizes on a page. You don’t have to use only one per page, but you do need a focal point. Also, give yourself more space by making a two-page spread. You have lots of options for variety. Did you know that handcrafted photo albums and folios are interactive. They have flip up pages, hidden pockets, tags and inserts. So much fun to decorate them.

When I have finally gotten comfortable with the layout, I look at the underneath page itself and decide if there is going to be a background behind the photos and memorabilia. Patterned paper is always a good option but why not try a watercolor background if you love to draw/paint. Or add food coloring to soapy water that has food coloring added, blow bubbles through a straw and let the bubbles fall on the paper to dry. Maybe cut shapes out of a sponge and blot ink shapes or splatter ink on a background. Use your imagination! Involve the who family. Have fun!
Finally, when you have the background and stuck down your photos, layer on your stickers, mementos, scraps and bits of lace around the page in a sort of collage. Frame a photo on a page with your embellishments to make it pop and give it power. Or put a series of snapshots together to show off an activity. It’s really all about creating a layout that speaks to you.
So hopefully, you found a tip or two in here that helps you move forward with your scrapbooking journey. I have to say that I love each and everyone of my scrapbooks and they are stored so that I can easily grab them if we have an emergency (I’m talking about hurricanes, I live on the coast). No matter how you decide to decorate and create your scrapbooks, they will be very special to you and your family. Happy scrapbooking, y’all!
