How to Start Your Scrapbook
You’ve sorted, organized, and stored your photos. You’ve found a space in your home for scrapbooking and gathered your tools, paper, and embellishments. Your scrapbook album or folio is open. Now what?
Putting your first scrapbook together is a process that may not come easily to you at first. So give yourself some grace. In one of my previous posts, I talked about how to “layout” each page. The layout is how the photo(s) will appear on the page and what will surround it to enhance the story. If you’re not familiar with page layouts, I have some tips and suggestions to get you started.
Scrapbook Page Layout

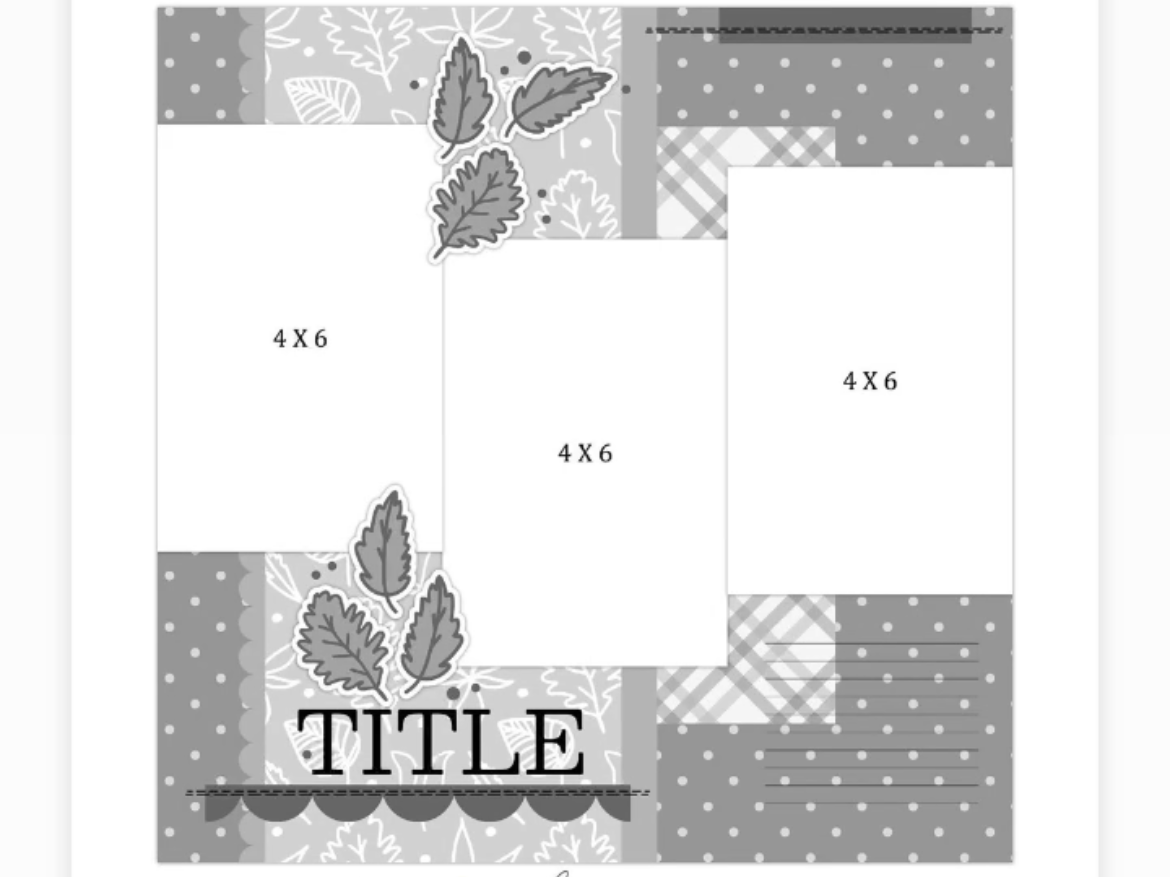
In the beginning, look on the internet such as Google or Pinterest, to search for examples of scrapbook page layout templates or layout sketches. You will soon be overwhelmed with choices and possibilities. But as I always advise, keep it simple.
The very first page of your scrapbook will be the title page. I often know what picture(s) is going to be featured on the title page but, if I’m not sure about the title I want to use, I will complete this step last.
After the title page are two pages facing each other, side-by-side. The question is, “do I want these pages to complement each other or will each be decorated to be independent?” And that is where your online search of page layouts comes in. Don’t think that there should be only one photograph per page. You will see in page layout templates that you can have multiple pictures per page of different sizes and orientations.
As you move from page to page, temporarily arrange your photographs onto each one. There are many low-tack and repositionable tape brands that can help with this process. Next, start playing with your theme colors, embellishments, and photo arrangement on each page until you get them in a way that pleases you. Then add layers of patterned paper and memorabilia to enhance your story. Take it slowly and walk away when you need inspiration or can’t decide. Come back to the project when you’re ready. Remember, it is a process that can take days, weeks, or a month! With almost anything, it just takes some practice and patience. And that’s it.
Title Page
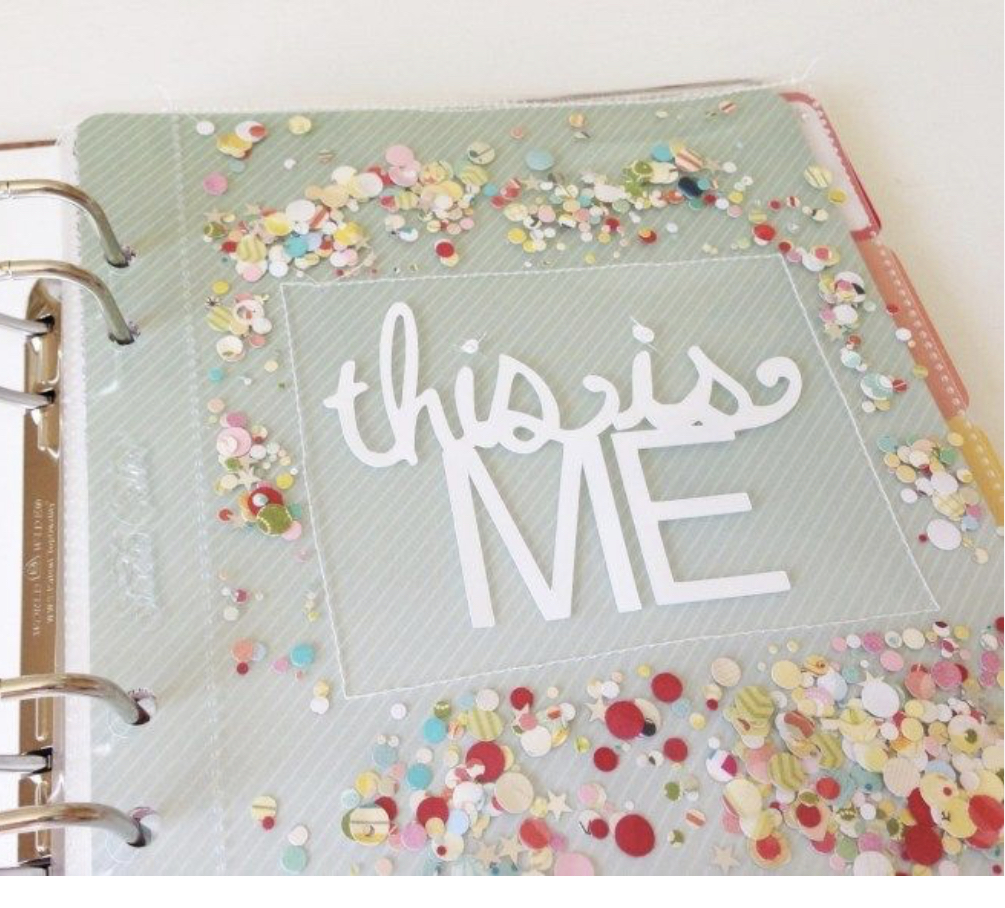
After you’ve completed each of your stunning page layouts, it’s time to create a catchy title page. This page usually features only one picture, the title, and the year. By keeping it simple, it sets the theme of what the reader will see in the next few pages.

Like your other scrapbook pages, you can find title page layouts by an internet search. You will quickly notice that title page layouts don’t usually put the title at the top of the page as in years past. They may run vertically, up the page or diagonally. They can be handwritten, vinyl letters or paper cutouts. The title page will pull together the theme of the story you are sharing. And you can make it as creative as you want or as simple as you want. It really is your very own book and there will be no other like it anywhere. So have fun!
Final Words
Yes, getting started on that first page of your scrapbook can be intimidating. Use the internet and don’t beat yourself up if you get stuck. Find templates and sketches to inspire you. Find materials that allow for temporary layouts to be repositioned until you are pleased. And you don’t have to complete it all at once; you can walk away from it and come back at any time. In the end, it will be very rewarding for you and your family.
Happy Scrapbooking!
